
Step-By-Step Guide To The Solar Installation Process
Installing solar panels is more than just placing equipment on a roof; it’s a carefully planned process that ensures safety, efficiency, and long-term performance. At Terralta, our experienced team follows a detailed, step-by-step approach for your rooftop installation. From the initial layout to final finishing touches, here’s how we bring clean, reliable energy to your home.
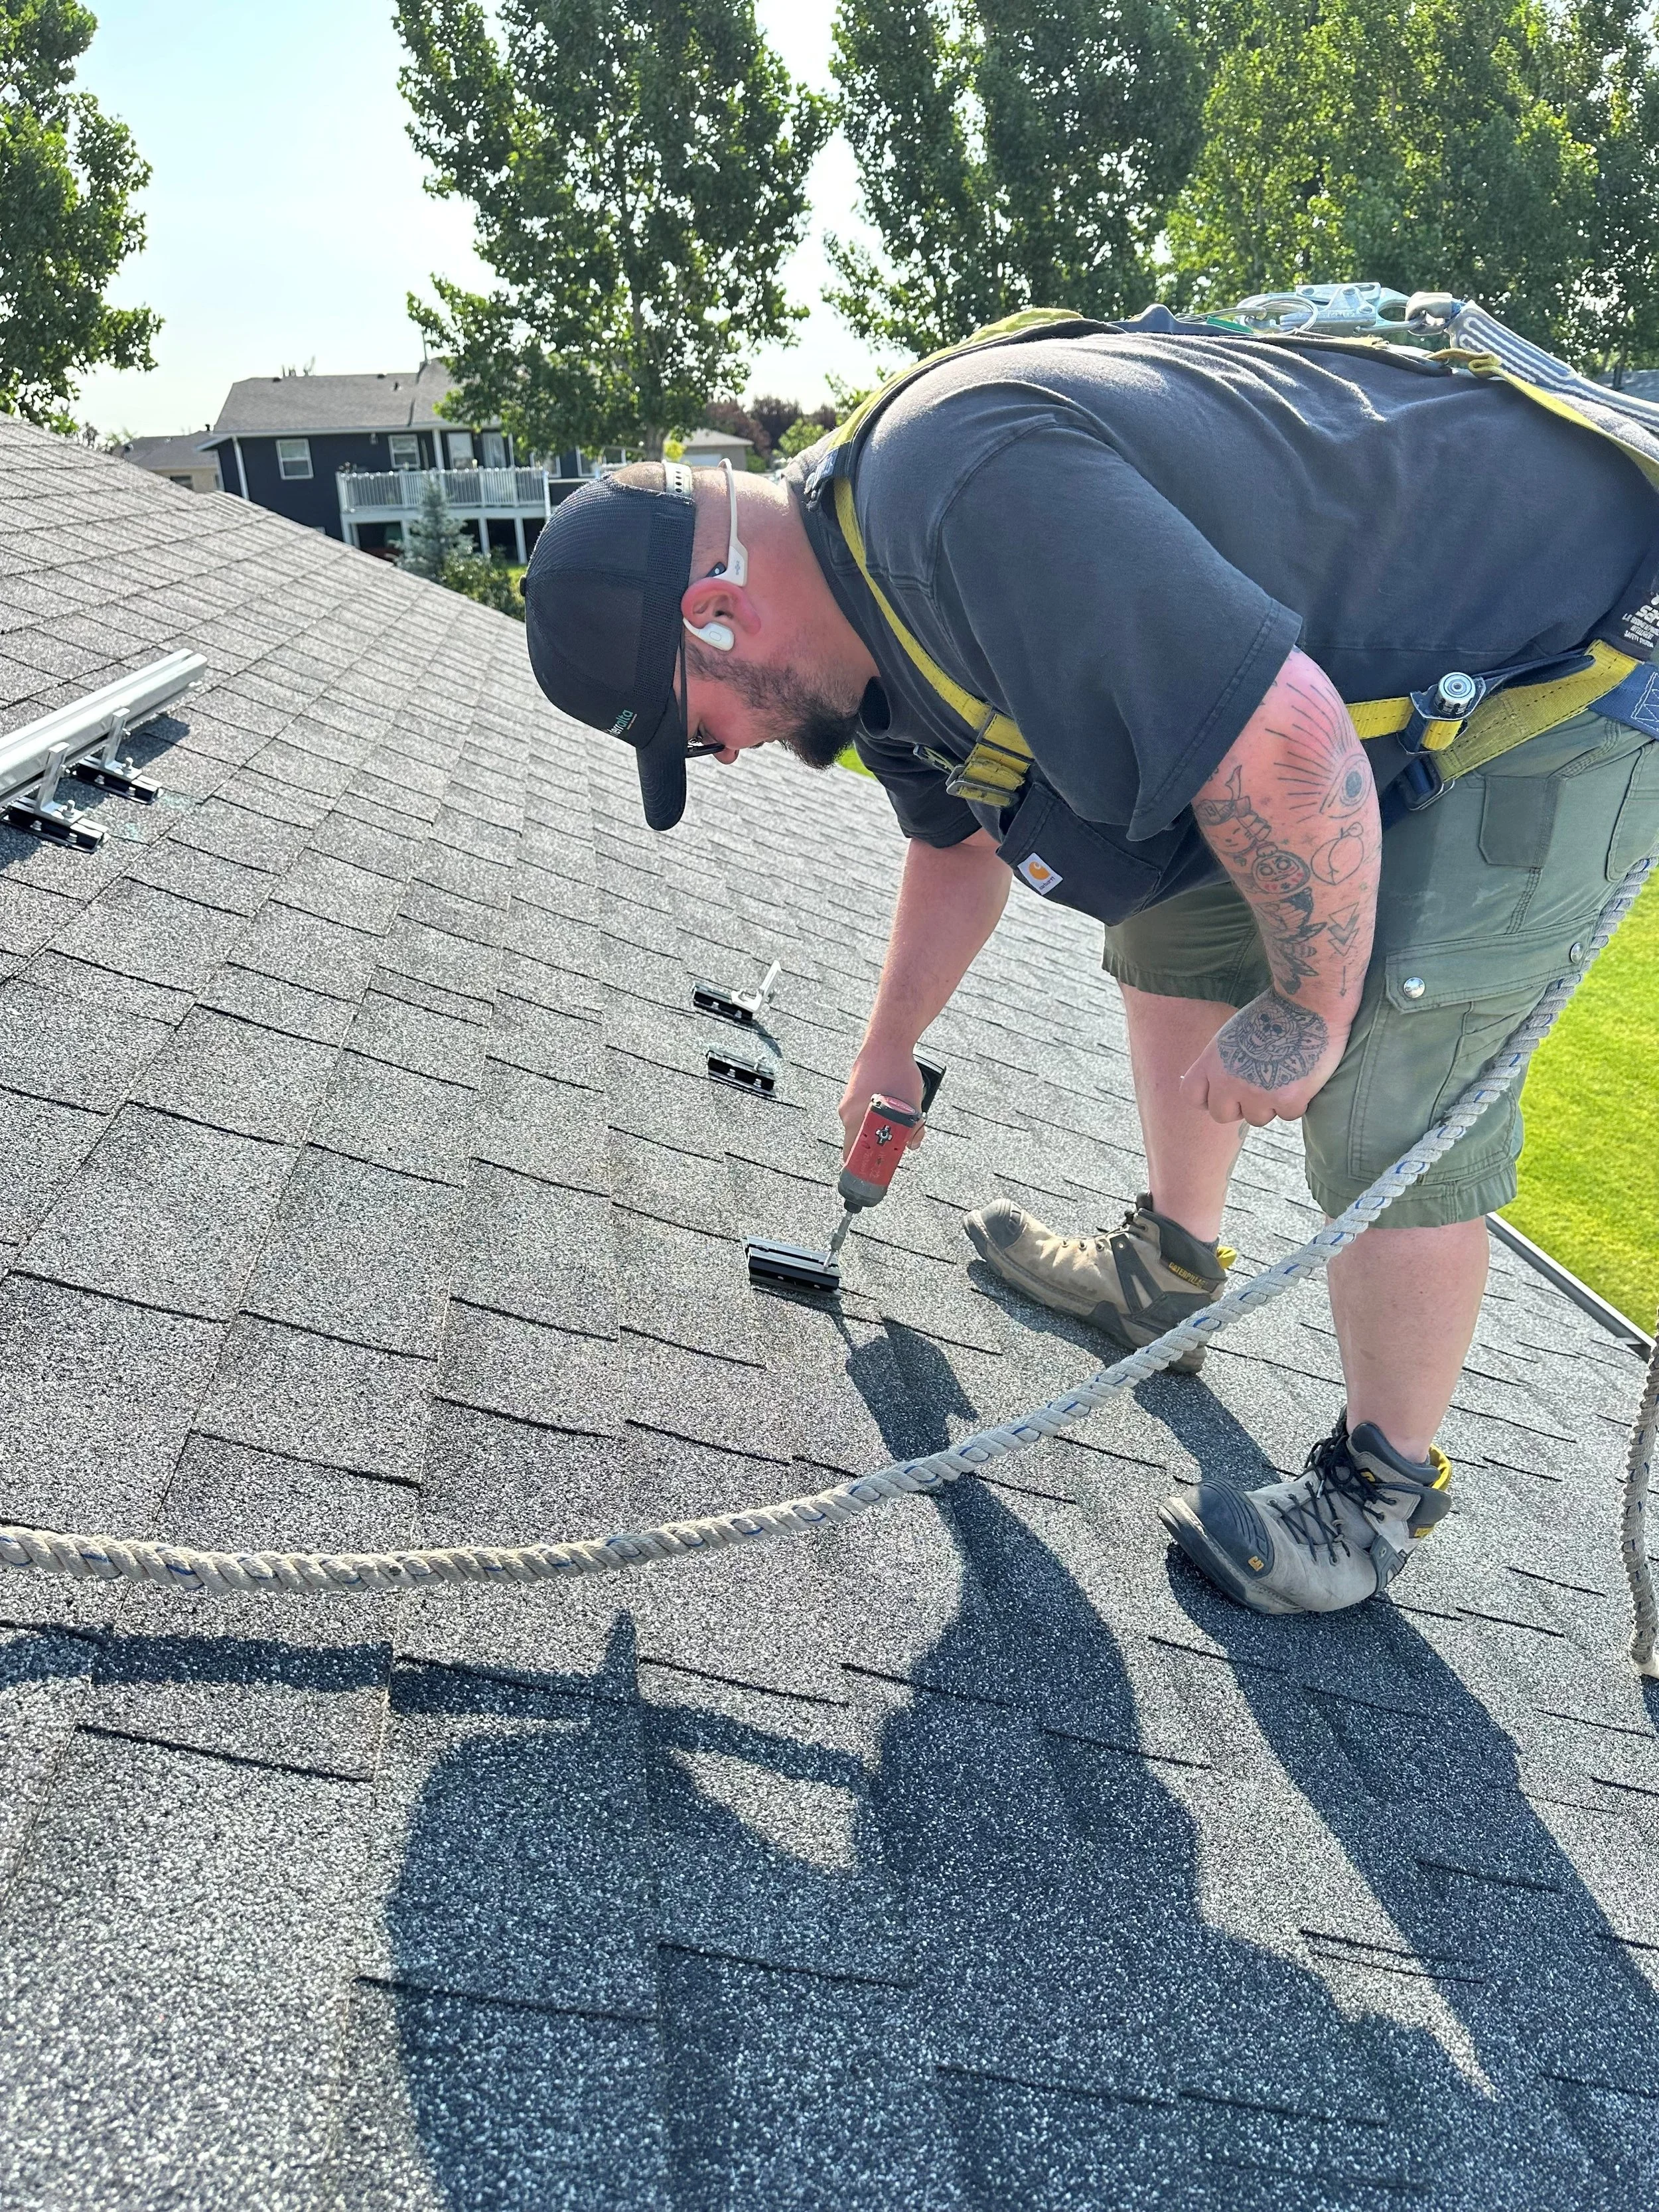
1. Layout & Mounting Hardware Installation
Using your system’s string design as a guide, we begin by marking out the layout on your roof. Once the chalk lines are in place, we install RT Minis and secure L-feet onto them to provide a connection point for the mounting rails.

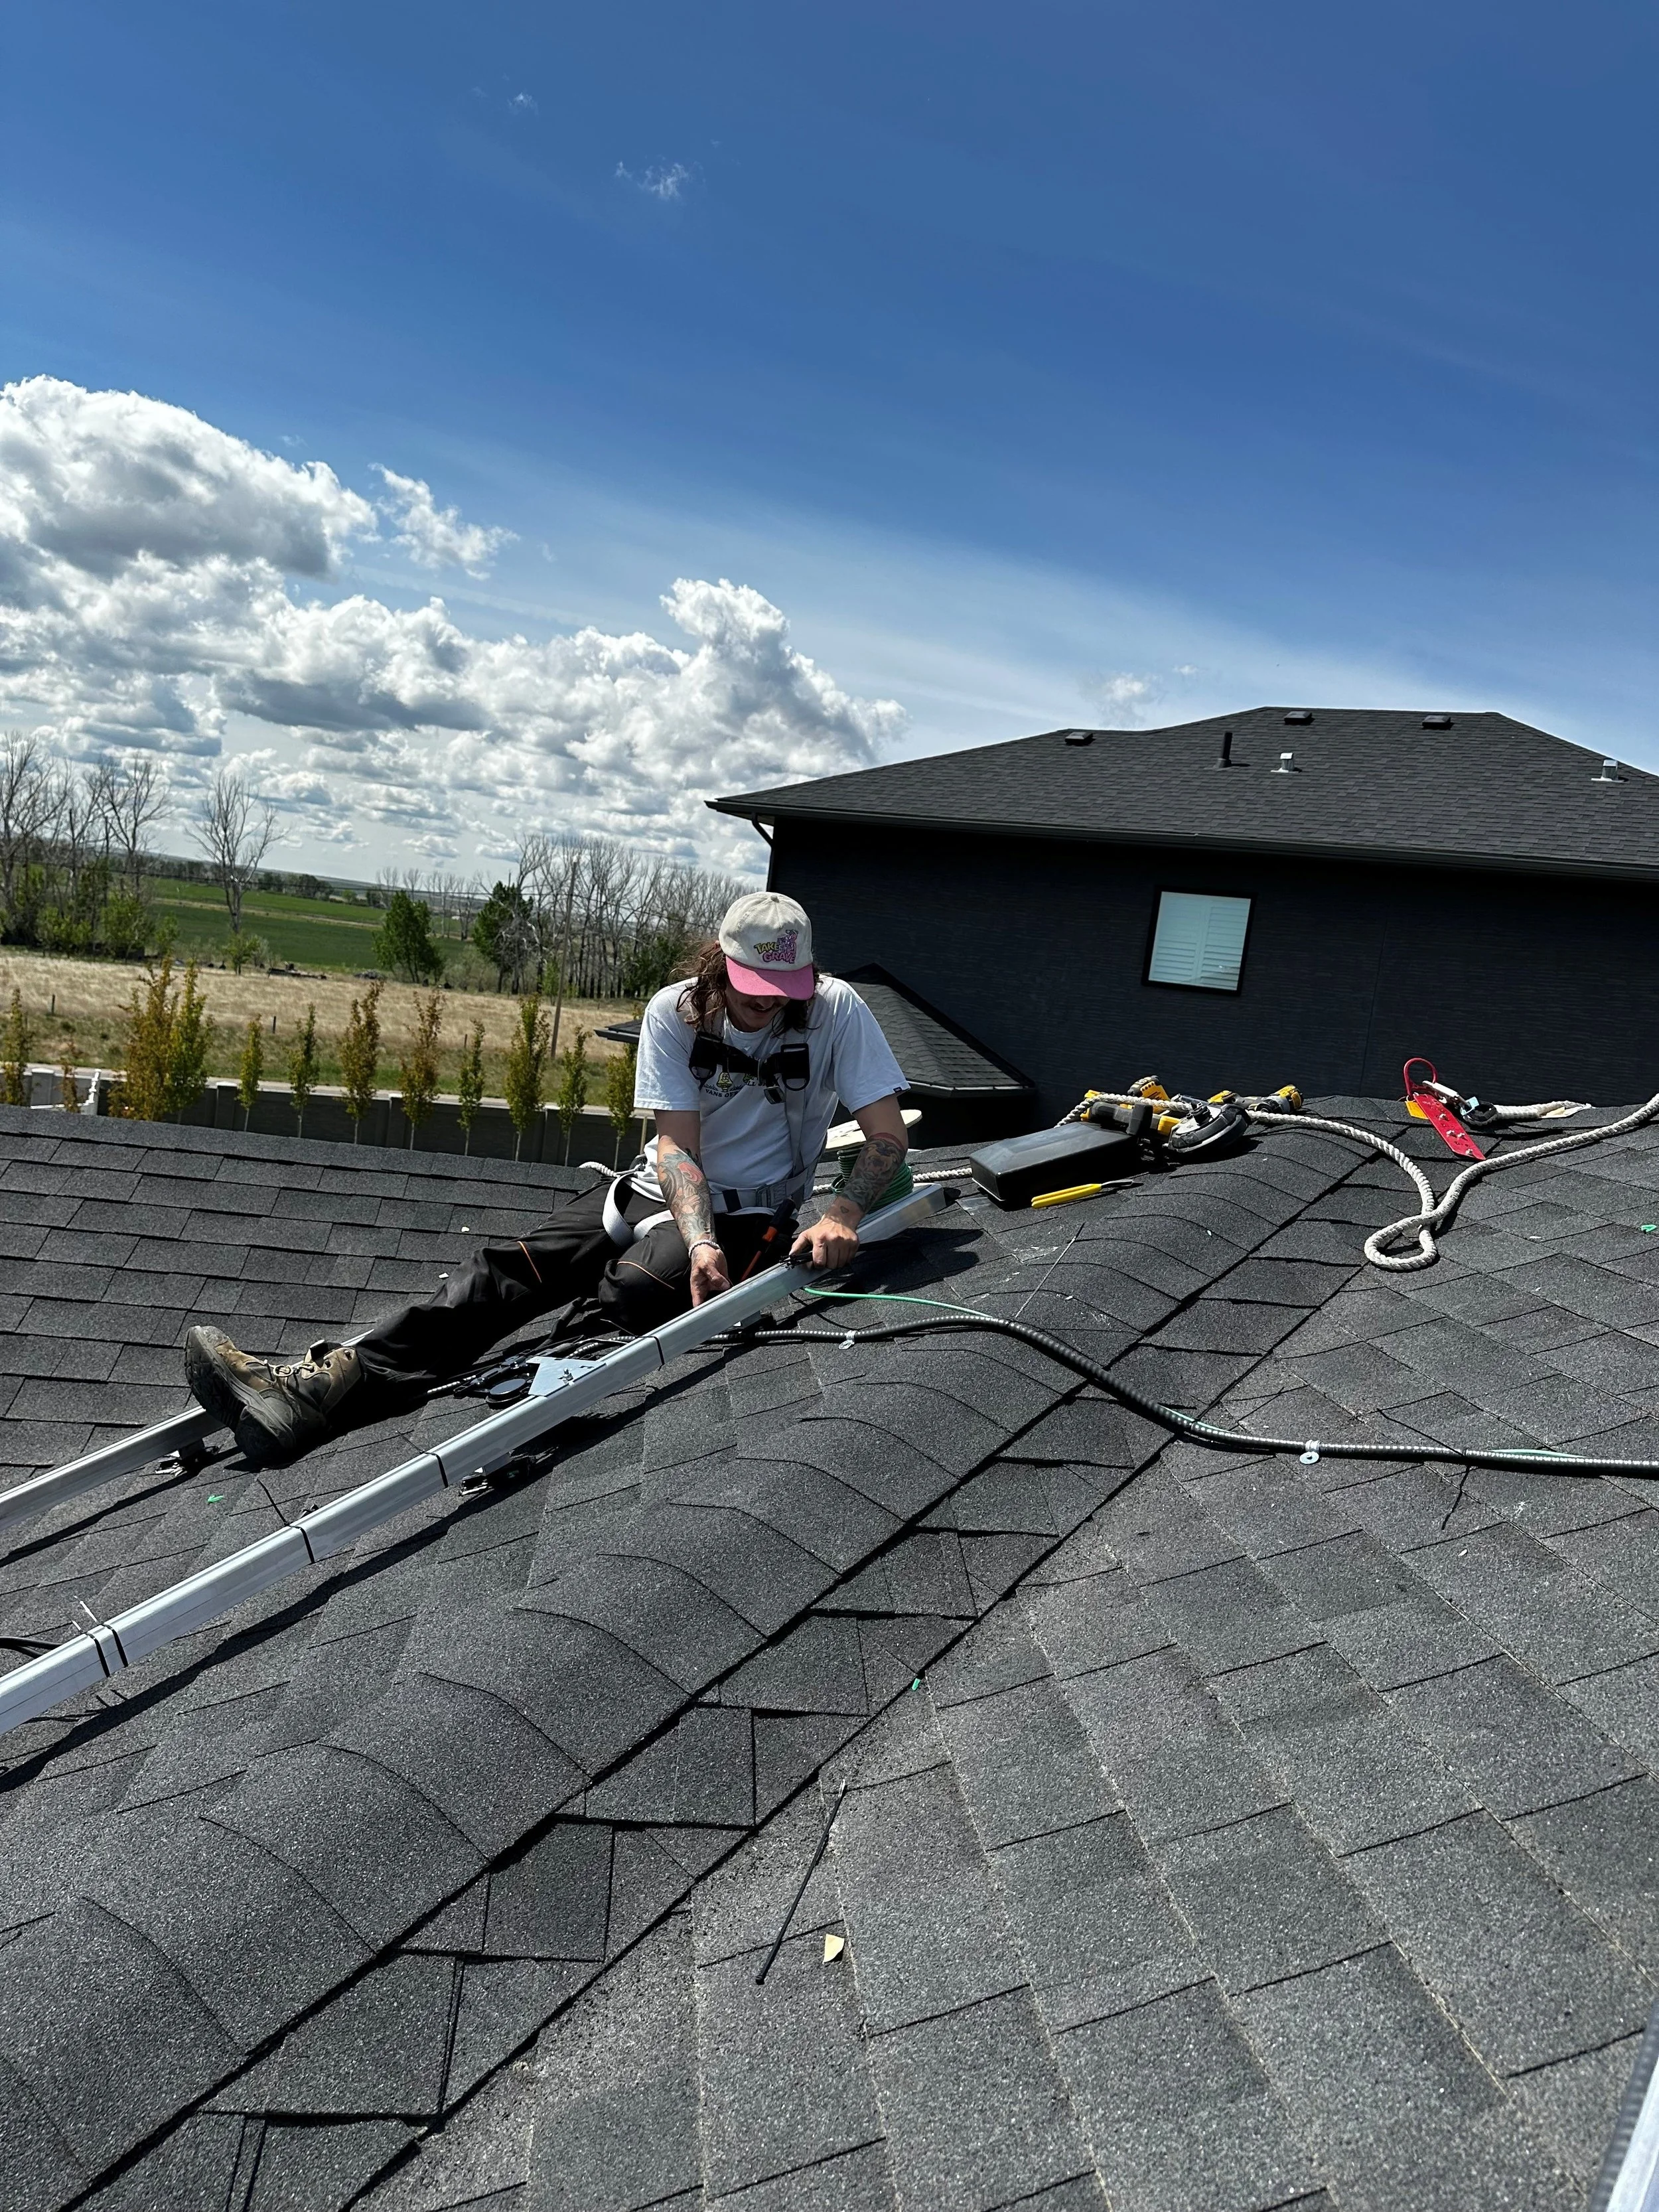
2. Installing Rails & Critter Guard
With the L-feet in place, we attach the rails that will support your solar panels. At this stage, we also install Critter Guard, which are mesh barriers that help prevent birds and small animals from nesting under your panels and damaging the wiring.
3. Electrical Setup & Wiring
Our electricians begin installing the system’s electrical components. This includes mounting the optimizers/micro-inverters and running the string wiring along the rails, all secured neatly with zip ties.
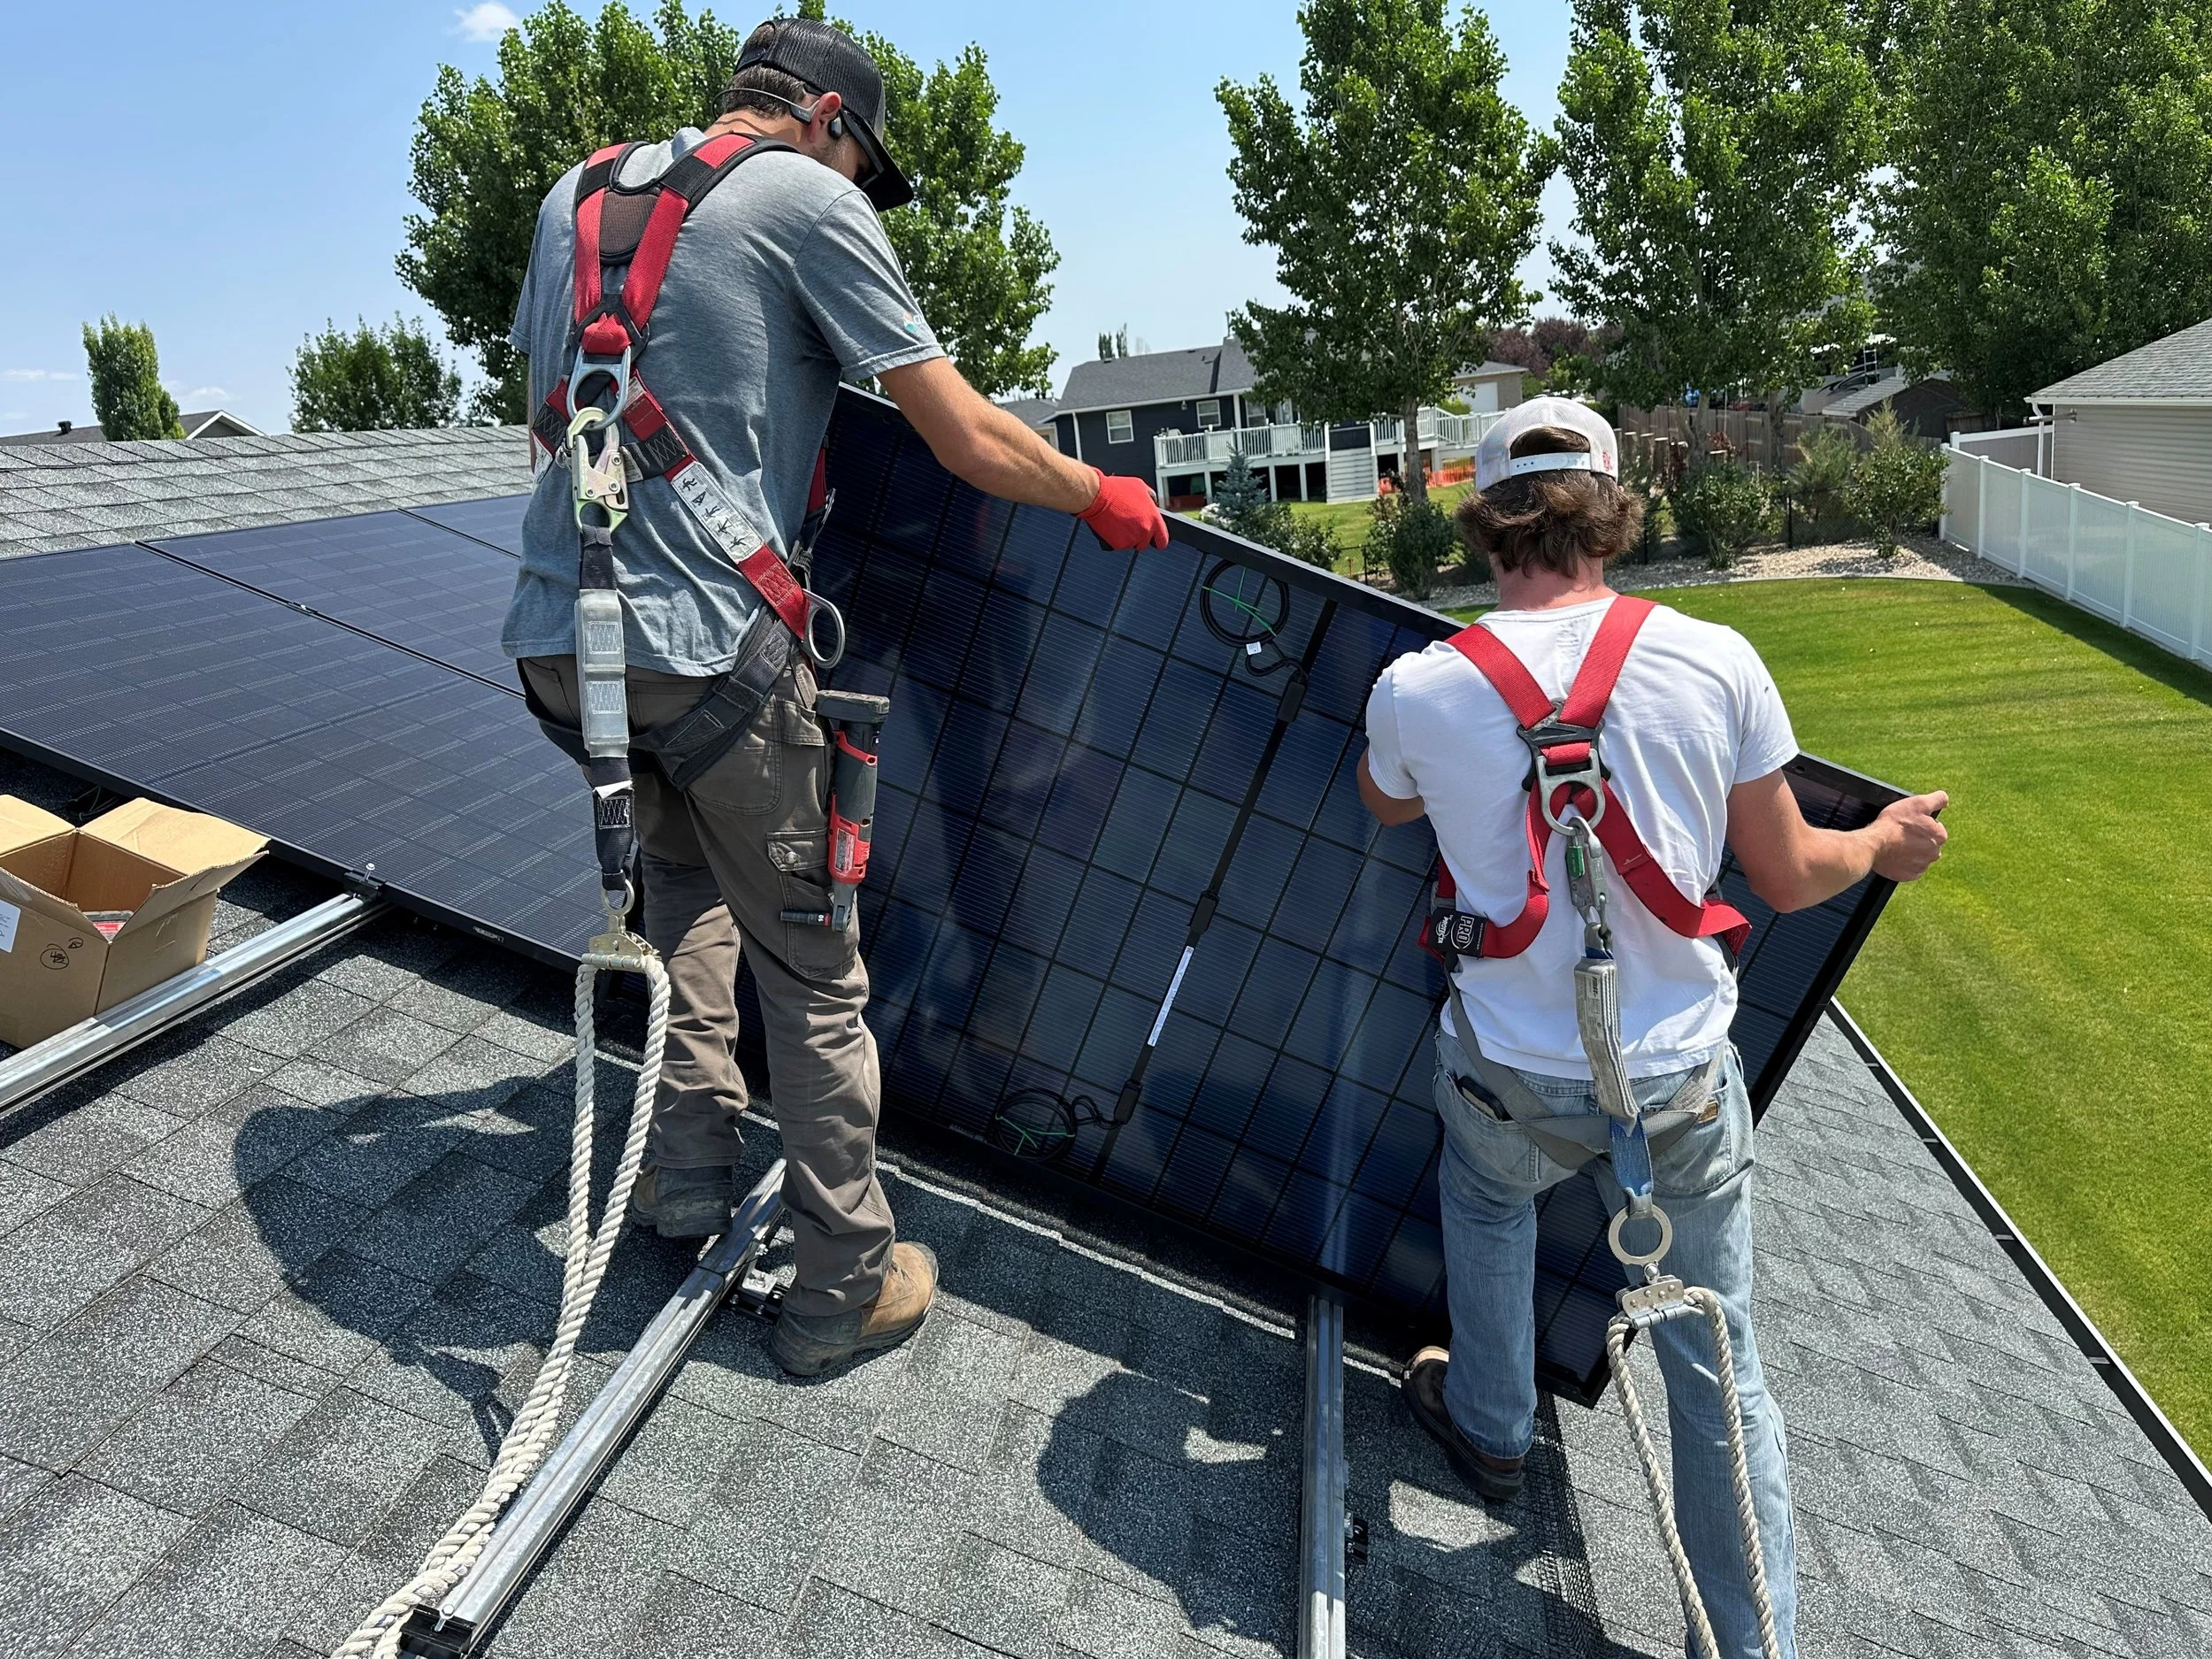
4. Panel Placement
Next, our crew carefully lines up the panels in their designated positions based on the system design. This ensures a clean, symmetrical look and optimal performance.

5. Connecting The System
Depending on the type of inverter used, we connect the panels as follows:
Enphase or SolarEdge: Each micro-inverter is connected to its corresponding module using MC4 connectors.
Fronius or Solis: Modules are connected in a series using MC4 connectors, forming a complete string.
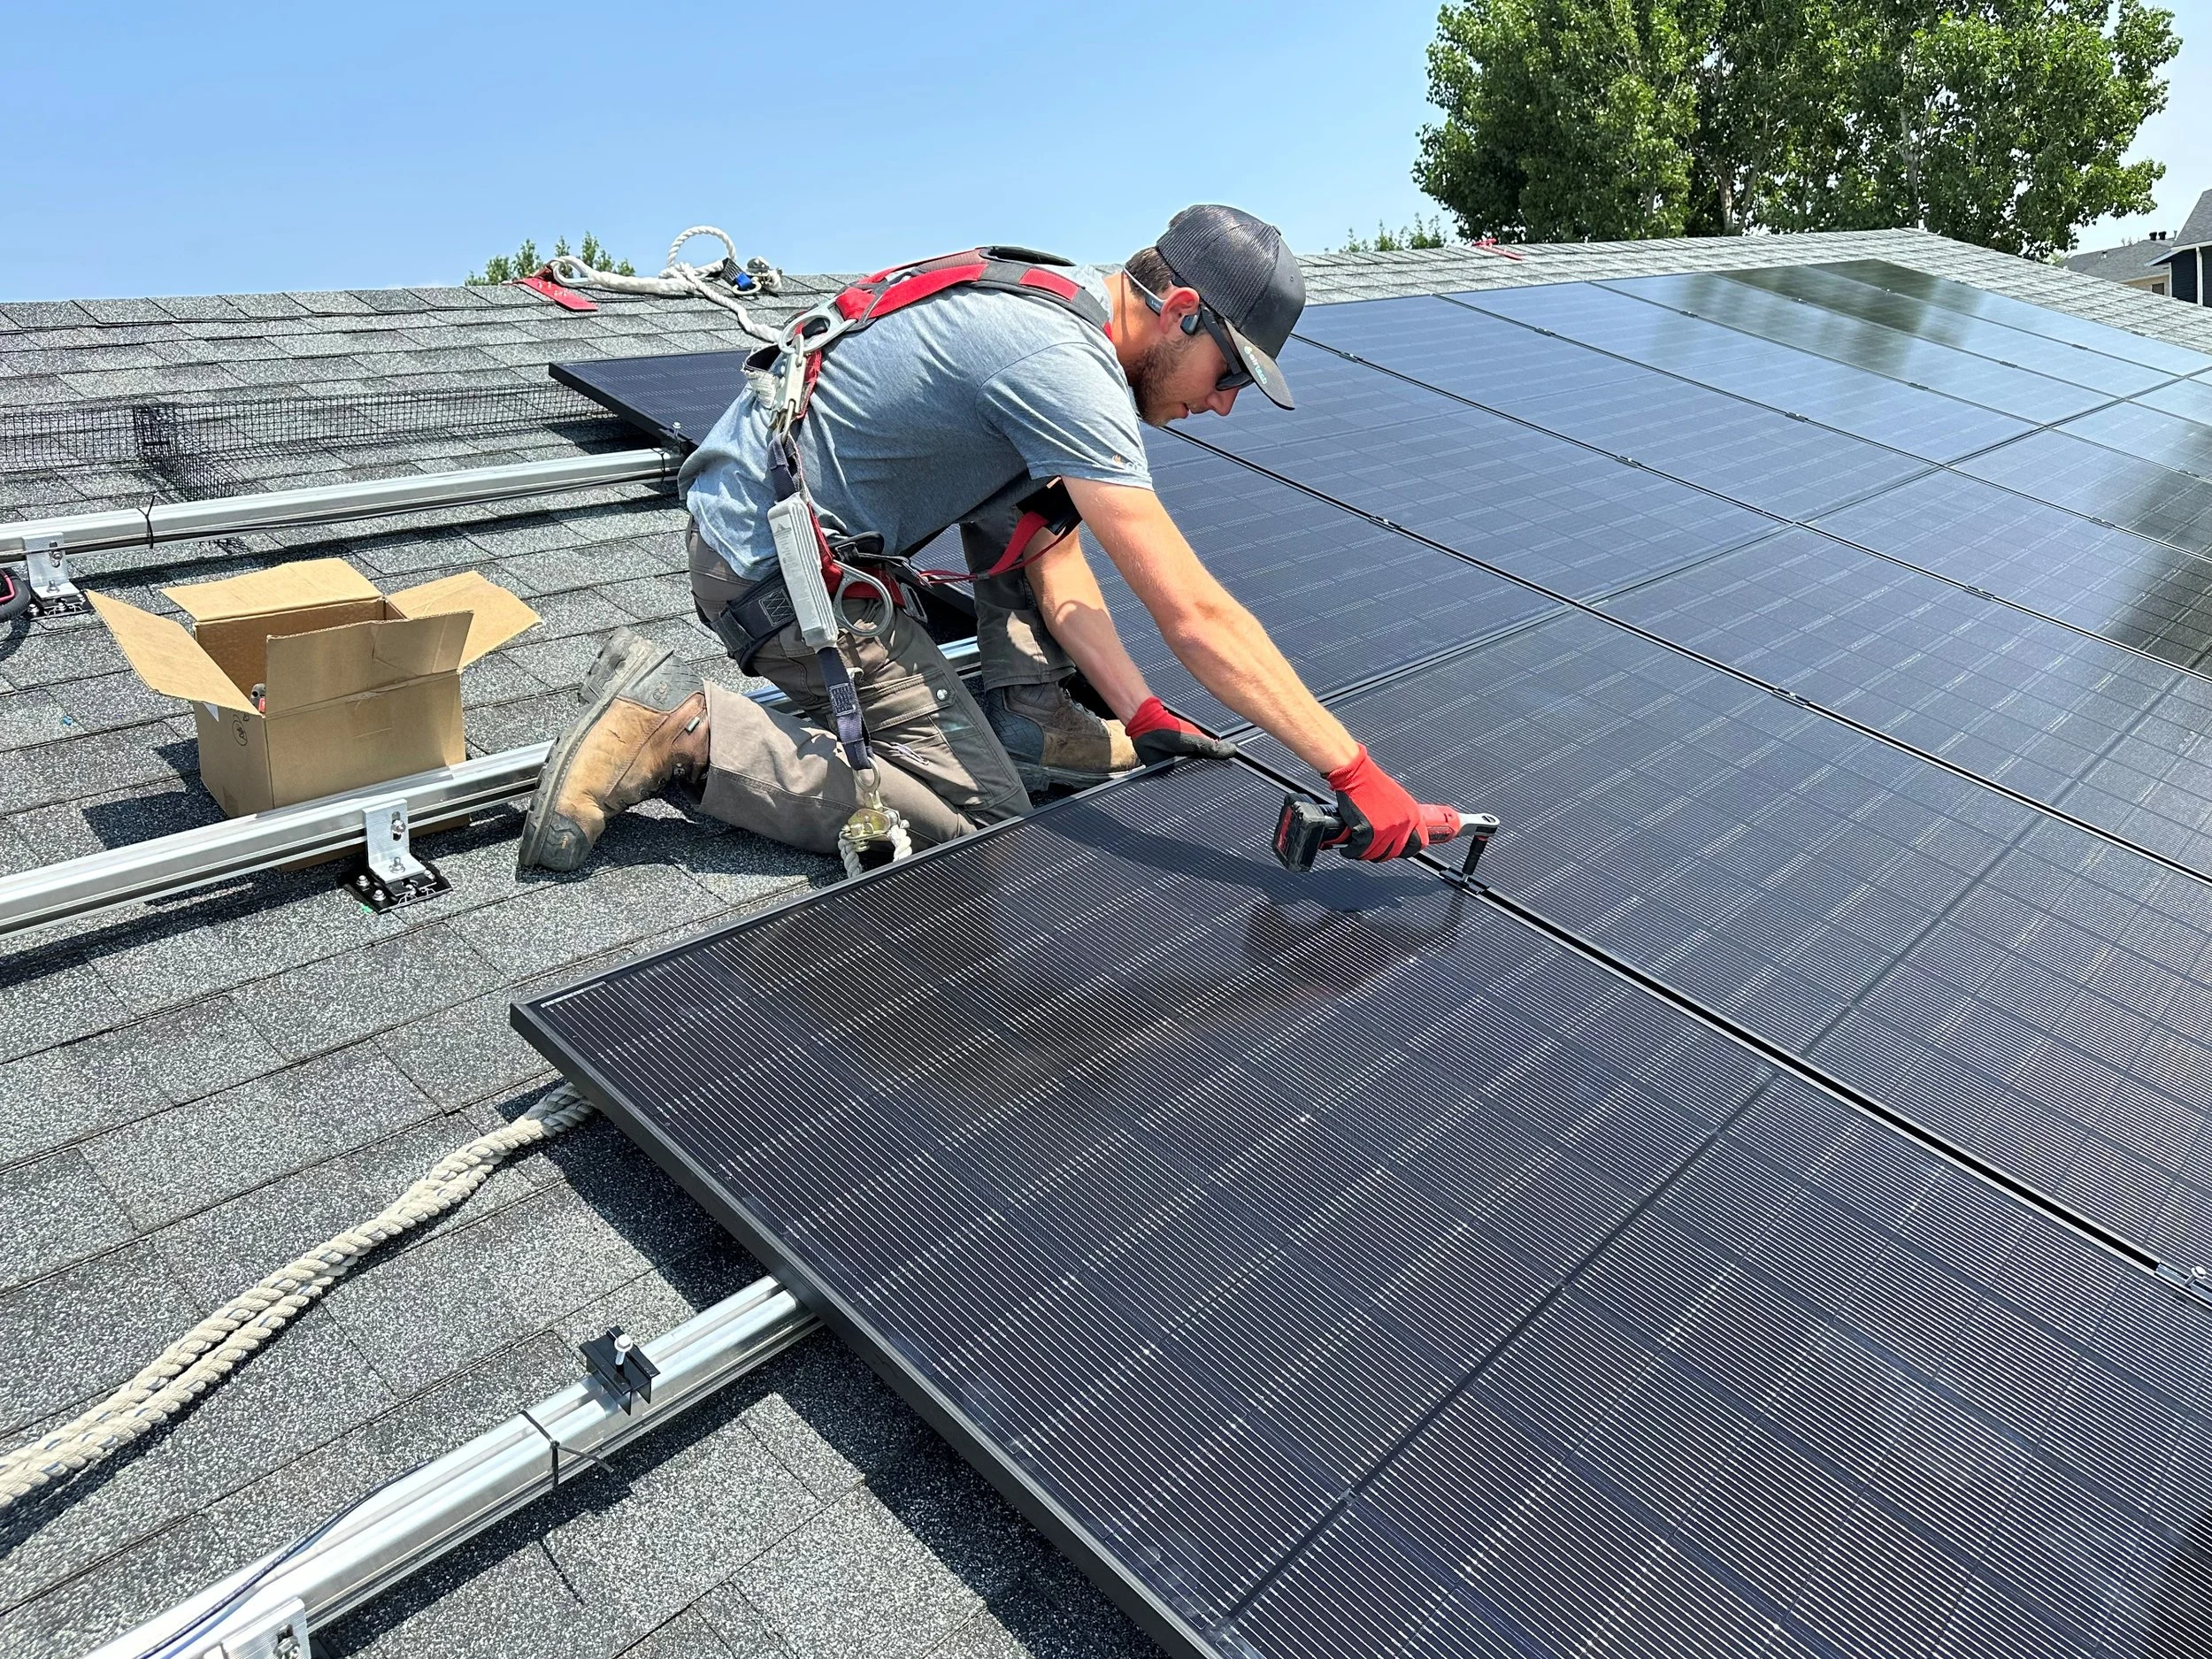
6. Securing The Panels
Once everything is in position and connected, we use Mid-Clamps and End-Clamps to securely fasten the solar panels to the rails.
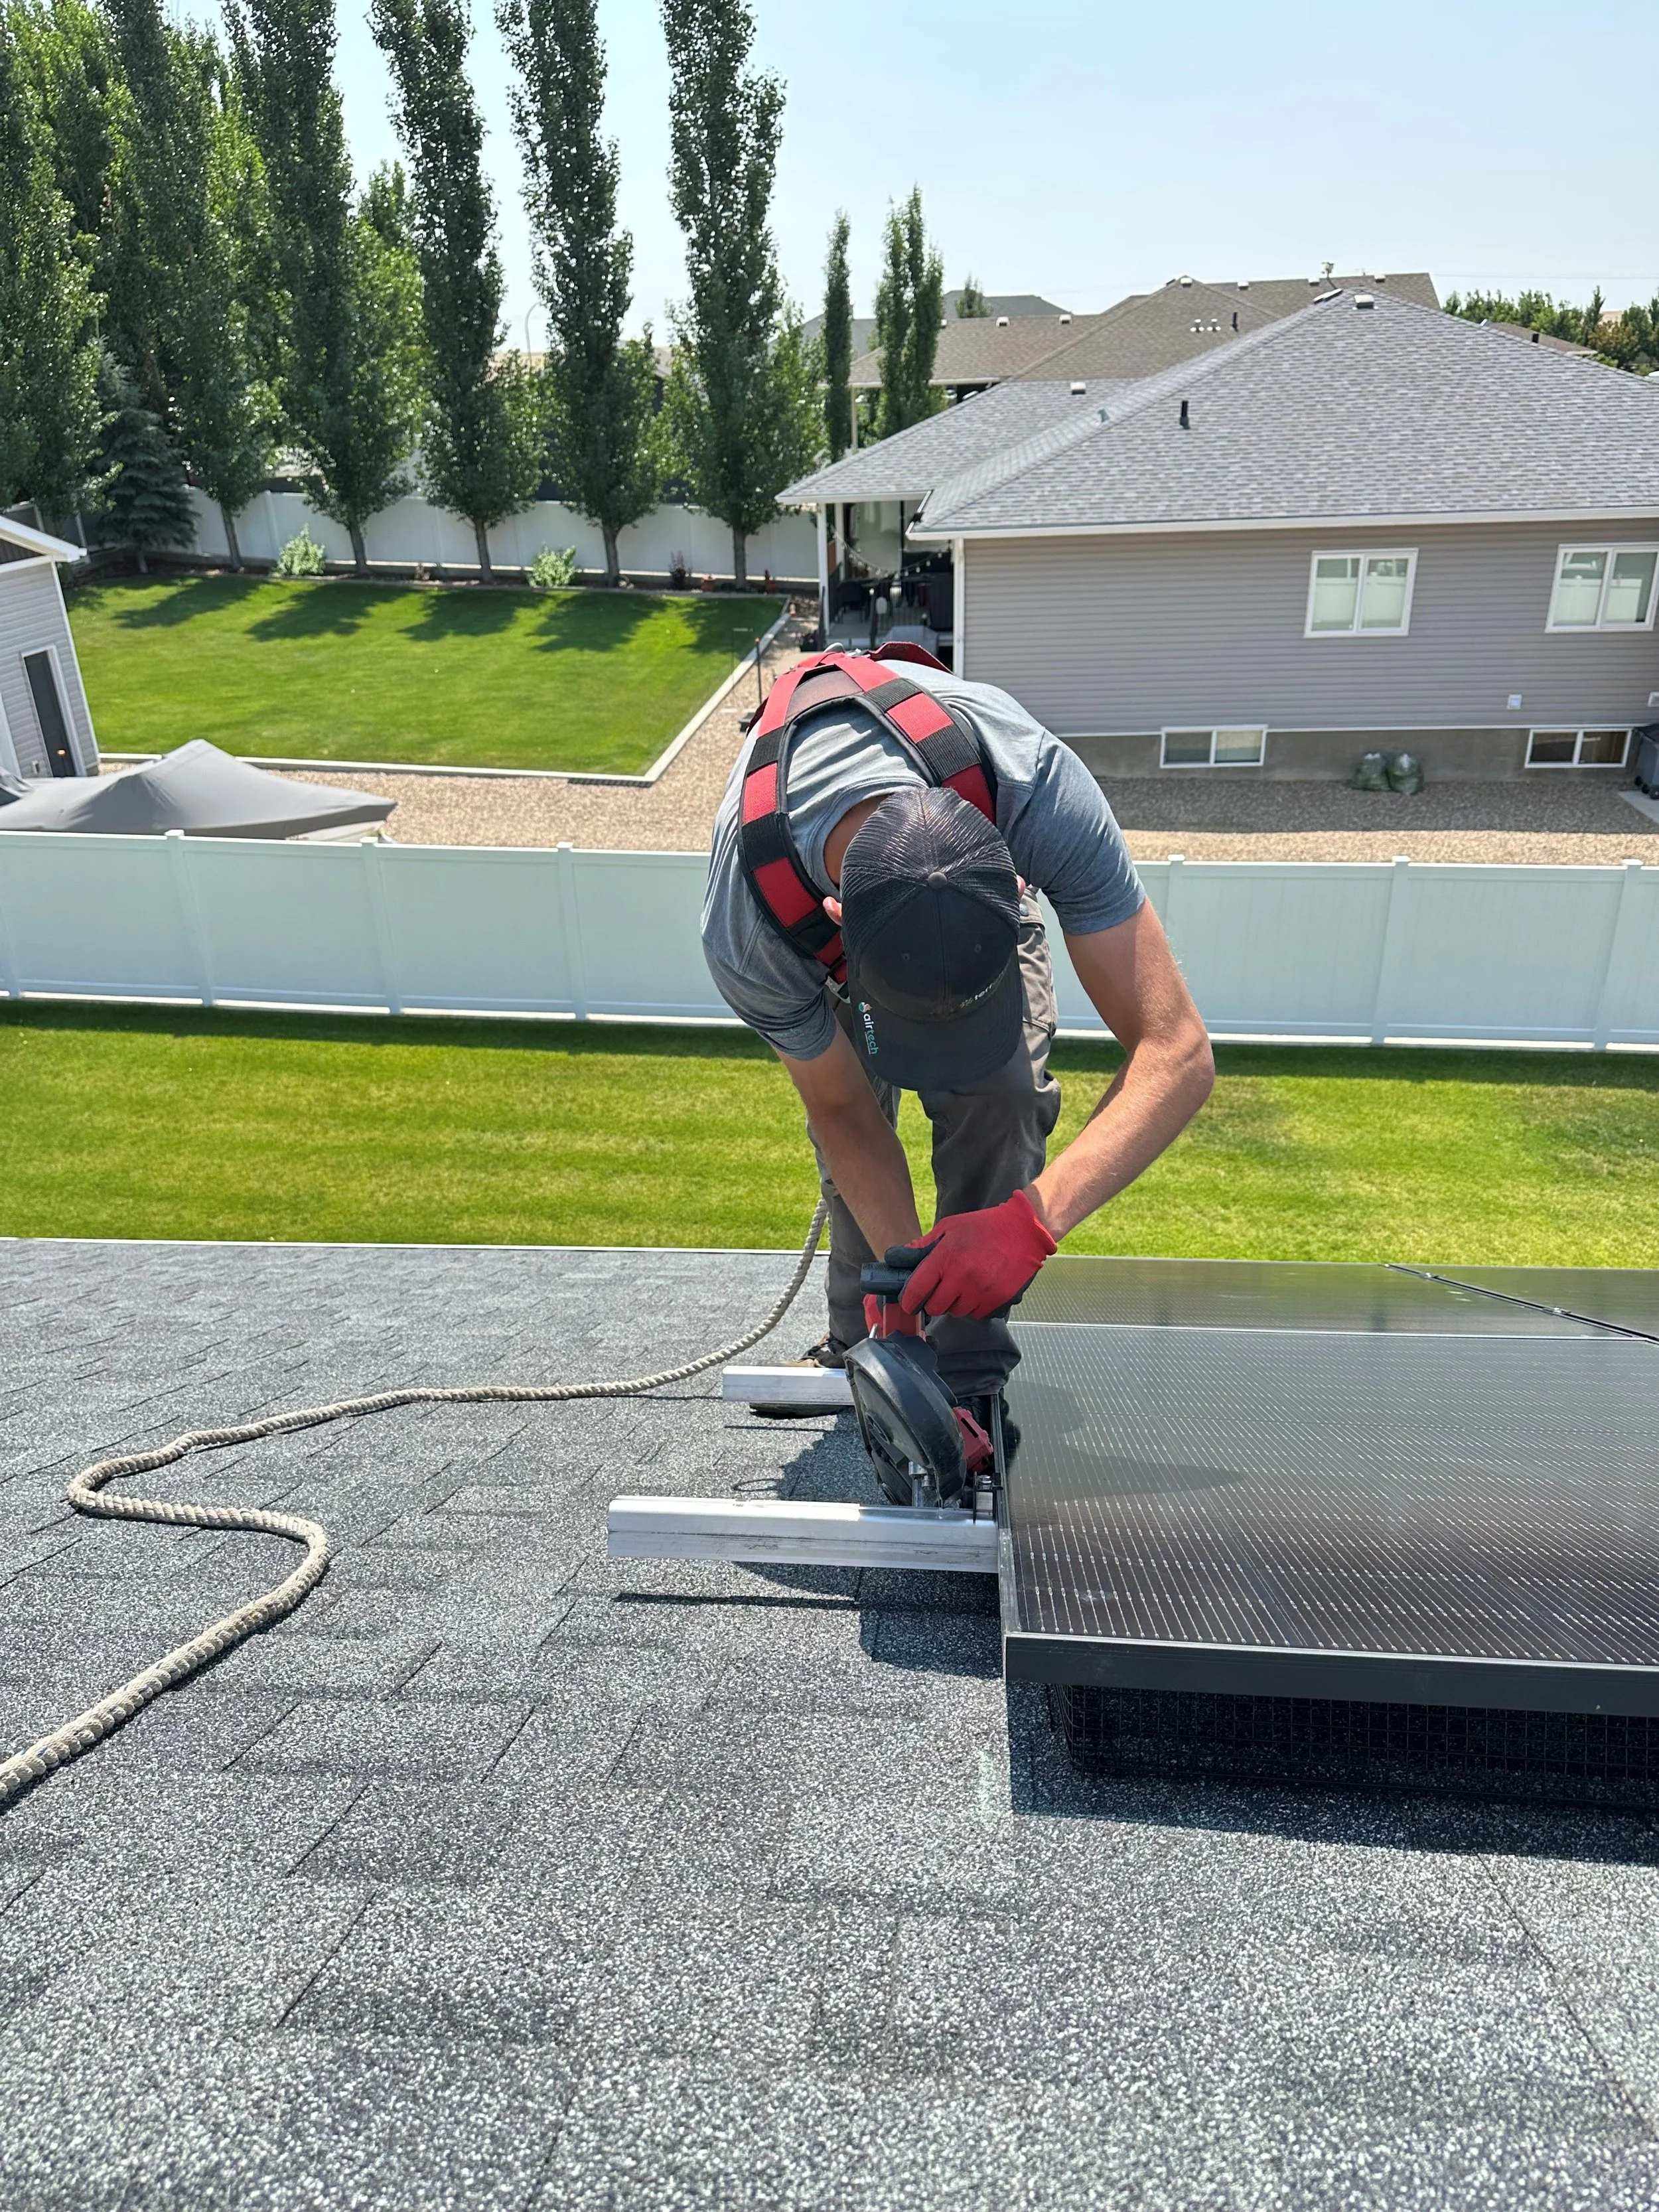
7. Final Touches
As a finishing step, we trim the excess rail to create a clean, professional look that enhances the appearance of your system.